


How to Organize WordPress Media Library Without a Plugin in 2026
“Before we dive into the main article, let me share a crucial insight from my personal experience regarding the WordPress Media Library. Whenever we upload an image, video, or any other file type that displays on the front end of our website, all of that data is handled by our server and database.
However, let me let you in on an incredible feature of this specific platform: we have engineered built-in tools where you can drop or upload your images, but they will never be sent to our servers or stored in a database! Everything stays entirely within your local browser sandbox to guarantee absolute data privacy and security for your visual assets. Give it a try right now and see for yourself!”
I took over a WordPress site last year that had been running for four years. The previous developer had installed a media folder plugin to organize images — a sensible idea at the time.
The plugin had not been updated in 19 months. Its custom database tables had grown to 340MB. The media library took 8 seconds to load in the admin panel. When the plugin was finally deactivated, it left behind dozens of orphaned database tables that had to be manually removed.
Four years of organization. Gone when the plugin stopped working — and replaced by a database cleanup job that took two hours.
That experience solidified something I had suspected for years: the media folder plugin approach creates a dependency that will eventually cause a problem. The manual approach — using file naming, WordPress’s built-in search, and smart upload habits — is more durable, faster, and requires zero plugin maintenance.
Here is exactly how to do it.
Why WordPress Media Library Gets Messy — The Real Cause
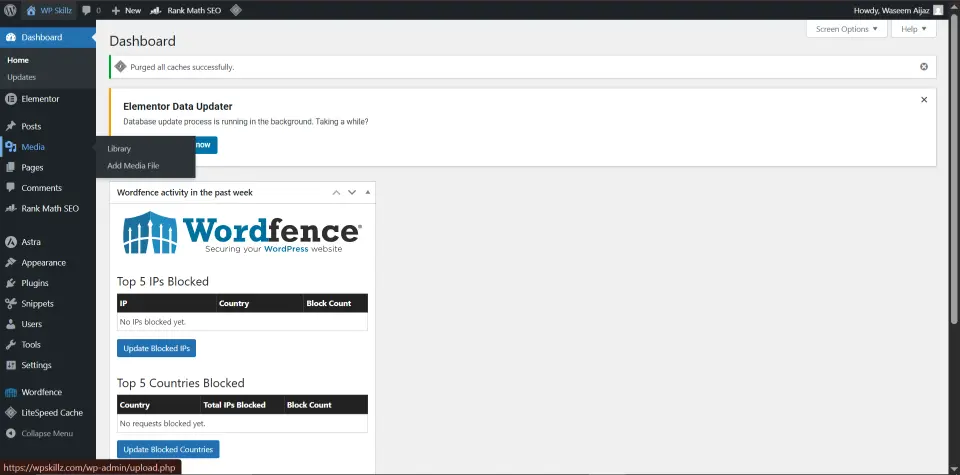
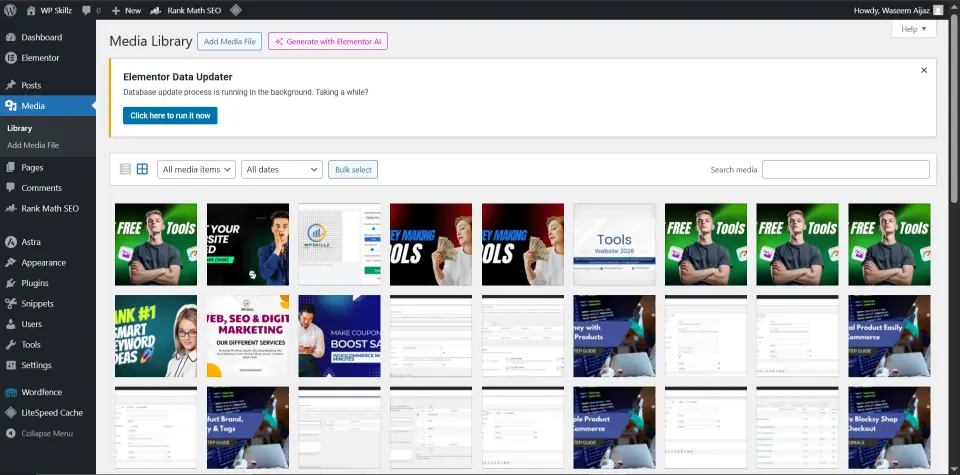
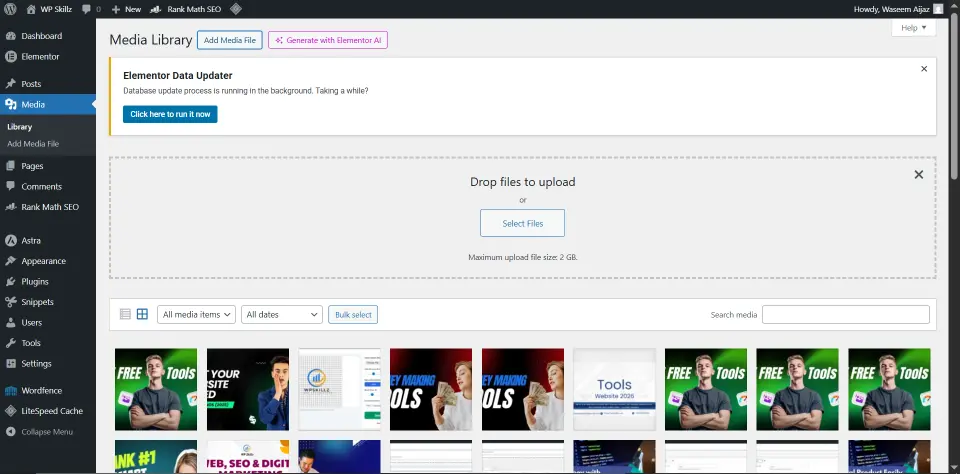
The WordPress media library does not have native folder support. Every image, PDF, video, and file uploads into a single flat directory structure organized only by year and month (/wp-content/uploads/2026/06/). There is no built-in way to create a “products” folder or a “blog headers” folder.
Most site owners respond to this by either ignoring organization entirely (resulting in a chaotic library with 3,000 unsearchable files) or installing a folder plugin (adding database overhead and a new plugin dependency to manage).
Both approaches have real costs. The ignored library wastes hours every time you need to find a specific image. The folder plugin adds maintenance burden, potential compatibility issues with WordPress updates, and database bloat.
The third approach — which almost no guide covers — is using WordPress’s existing features more intelligently. No plugin. No new database tables. Works today and will work five years from now regardless of WordPress version changes.
Step 1 — Fix the Problem Before It Starts: Pre-Upload Preparation
The most effective media library organization happens before you upload anything. Files that are correctly named, properly sized, and in the right format take seconds to find later. Files uploaded directly from a camera roll with generic names take minutes of scrolling.
File Naming — The Foundation of Searchable Media
WordPress’s built-in media search only searches file names, titles, captions, and descriptions. If you upload IMG_4892.jpg, you will never find it by searching for “team photo” — because that word does not exist anywhere in the file’s metadata.
The naming convention that makes files instantly findable:
Format: [descriptive-keyword]-[context]-[year].webp
Examples:
website-hero-homepage-2026.webpteam-photo-about-page.webpproduct-leather-wallet-black-main.webpblog-thumbnail-wordpress-speed-guide.webp
Every word in the filename becomes searchable. Type “hero” in the media library search and every hero image appears. Type “leather” and all leather product photos appear. Type “blog-thumbnail” and all blog thumbnails appear.
This takes five extra seconds per image when you name it. It saves five minutes every time you need to find it. For a site with 500+ images, that time saving compounds significantly.
Convert to WebP Before Uploading
JPEG and PNG files are larger than they need to be. A product photo shot on a modern phone in JPEG format is typically 3-6MB. The same image converted to WebP is 200-600KB — 70-80% smaller — with no visible quality difference at standard screen sizes.
Every uncompressed image you upload to WordPress becomes part of your page weight. A homepage with six uncompressed JPEG hero images can easily accumulate 20MB of image weight. The same homepage with WebP images might have 1.2MB of image weight.
Use the WP Skillz Bulk Image Resizer before uploading. It converts images to WebP, lets you set target dimensions and compression level, and processes multiple images simultaneously. The result is images that are the right size for web display and in the format Google recommends for performance.
Target file sizes:
- Hero and banner images: under 200KB in WebP
- Blog content images: under 100KB
- Product thumbnail images: under 50KB
- Icons and logos: SVG where possible, under 20KB for PNG/WebP
Running the Website Speed Test before and after switching to pre-compressed WebP images shows the direct performance impact. Most sites see mobile performance score improvements of 15-25 points from image optimization alone.
Step 2 — The Smart Description Tag System
WordPress has description and caption fields on every uploaded file. Almost nobody uses them. This is a wasted organizational tool.
When you upload an image, add category tags to the description field using a consistent prefix:
#hero #homepage #2026-redesign#product #leather #wallet #main-image#blog-thumbnail #wordpress #seo-contentNow when you type #hero in the WordPress media library search bar, every image tagged with #hero in its description appears — instantly filtered without any plugin.
This system scales to any library size. A site with 5,000 images is just as searchable as one with 50, because the organization is encoded in the files themselves rather than in a plugin database.
Three-level tagging system I use on client sites:
- Type:
#hero,#thumbnail,#product,#team,#icon,#infographic - Section:
#homepage,#about,#blog,#products,#services - Client/Project:
#clientnameor#projectnamefor agency sites managing multiple brands
Add these tags when you upload. It takes 15 seconds per image. Search any tag combination later and find exactly what you need.
Step 3 — Use External Hosting for Large or One-Off Files
Not every image belongs in your WordPress media library. Large files that are only used in one specific place — a downloadable PDF, a one-time event banner, a high-resolution file shared with a client — add permanent weight to your library and server storage.
The WP Skillz Photo Link Generator lets you upload an image and get a direct URL to use anywhere. The file is hosted externally, the URL is ready to paste into any post or page, and your WordPress media library stays smaller.
Practical use cases:
A blog post needs a large infographic that is 1.2MB. Uploading it to WordPress adds 1.2MB to your server storage and WordPress database permanently — even if that post is the only place it ever appears. Upload it to the photo link tool, paste the URL, keep the library clean.
A client needs to review a high-resolution logo file. Upload to the photo link tool, send the link. No need to put a 10MB file in your media library when it will never appear on a public-facing page.
When to keep files in WordPress: Any image that appears on public-facing pages and may need to be updated should stay in the WordPress media library. External hosting is for one-off, supplementary, or large files that do not need WordPress’s attachment management.
Step 4 — The Quarterly Media Library Audit
A clean media library does not stay clean passively. Quarterly maintenance takes 30-45 minutes and prevents the gradual accumulation that leads to a chaotic 4,000-file library.
What to audit:
Duplicate images. WordPress automatically creates multiple sizes of every uploaded image (thumbnail, medium, large, full). These are generated automatically and expected. What creates unnecessary duplicates is uploading the same image twice, uploading different crops of the same photo, or uploading old and updated versions of the same graphic without deleting the old one.
Search your library for the same file name with different numbers: hero-image.webp, hero-image-1.webp, hero-image-2.webp. Keep only the one that is actively referenced.
Orphaned images. Files that were uploaded but never attached to any post or page. WordPress does not automatically delete media files when the post they were uploaded to is deleted. The Broken Link Checker plugin can identify unreferenced media, but you can also find many manually by sorting the library by “Unattached” using the attachment filter.
Outdated event and seasonal images. A banner for a promotion that ended six months ago has no reason to stay in the library. Delete it and its regenerated sizes.
After the audit, run the WP Skillz Website Speed Test on your homepage. Reduced server storage and fewer database attachment records sometimes produce a small but measurable performance improvement.
Step 5 — Database Maintenance After Image Cleanup
When you delete images from WordPress, the image files are deleted but the database records for those images — the wp_posts attachment records and associated wp_postmeta rows — sometimes leave orphaned data.
This is not a crisis, but over years of image uploads and deletions it accumulates. A media library that has had thousands of files uploaded and deleted since installation can have significant orphaned database records adding unnecessary size to every database query WordPress performs.
This is a case where targeted database cleanup — not a media folder plugin, but a query-based cleanup tool — makes sense. The distinction matters: a media folder plugin runs on every page load. A periodic database cleanup runs once, removes the orphaned records, and then does nothing until you run it again.
After any major media library cleanup, also check the Website Malware Scanner — malicious code is sometimes injected through image files, and a media library audit is a good time to run a security check alongside the organizational work.
Why Not Use a Media Folder Plugin?
This question deserves a direct answer since most media organization guides recommend plugins.
Media folder plugins work by adding custom database tables and custom metadata to store folder relationships. When you move an image to a “folder,” the plugin records that relationship in its own tables. When you view the media library, the plugin queries its tables to display the folder structure.
Three problems with this:
Plugin updates and WordPress compatibility. WordPress core updates frequently. Plugin developers cannot always keep up. A media folder plugin that stores thousands of folder relationships becomes difficult to abandon — switching away means losing all organization that the plugin managed. You are locked in.
Database overhead. The larger your library, the more records the plugin manages. The queries needed to display the folder structure on every media library page load add latency to your admin panel. For libraries above 2,000 images, this is noticeable.
The 2026 reality: Several popular media folder plugins have been abandoned by developers. Users who relied on them discovered that WordPress updates broke the plugins, leaving their folder structure inaccessible.
The manual system described in this guide adds zero database tables and zero plugin dependencies. The organization is encoded in the files themselves. It works regardless of WordPress version. It works regardless of plugin ecosystem changes.
Complete Media Library Organization Checklist
Before uploading:
- File renamed descriptively with hyphens (
product-name-color-2026.webp) - Image converted to WebP using the Bulk Image Resizer
- File size confirmed: hero under 200KB, content under 100KB, thumbnail under 50KB
- Large one-off files routed to Photo Link Generator instead of media library
During upload:
- Alt text filled in with descriptive keyword phrase
- Caption added where relevant for reader context
- Description field populated with type, section, and project tags (
#hero #homepage #2026)
Quarterly audit:
- Duplicate files identified and redundant copies deleted
- Orphaned unattached files reviewed — unused ones deleted
- Outdated seasonal and promotional images deleted
- Speed test run after cleanup to confirm performance baseline
Security:
- Monthly malware scan run via Website Malware Scanner
- All plugins (including any image-related ones) updated to current versions
Frequently Asked Questions
Can I organize thousands of existing images without a plugin? Yes, but it requires time investment upfront. For existing libraries, start with the most important images — those used on high-traffic pages — and rename them with the descriptive naming convention. Add description tags to these priority images. Work through the rest gradually. Batch renaming tools let you rename multiple files before uploading if you are starting a new library, but existing WordPress attachments need to be renamed through the media library edit screen.
Does image file name affect SEO? Yes, moderately. File names contribute to image search optimization and provide additional keyword context to Google’s crawler. A file named modern-leather-wallet-black.webp gives Google more information about the image than IMG_4892.jpg. Combined with alt text, it contributes to image search visibility and provides semantic context for page content.
Will deleting old images break any pages? Images that are actively referenced in post content or page templates will show broken image icons if deleted. Before deleting any image, check whether it appears in your media library as “Attached” (linked to a specific post) or “Unattached.” Unattached images are generally safe to delete. For attached images, verify the post or page is no longer live before deleting.
Is WebP compatible with all browsers in 2026? Yes. WebP is supported in all modern browsers — Chrome, Firefox, Safari (since 2020), Edge, and Opera. As of 2026, global WebP browser support exceeds 96%. There is no reason to serve JPEG or PNG when WebP is available and produces smaller file sizes.
How does image organization affect site speed? Organization itself does not directly affect front-end speed. But the habits that create a well-organized library — consistent file naming, WebP conversion, appropriate compression — directly reduce page weight, which improves load times and Core Web Vitals scores.
Conclusion — The System That Works Without Maintenance
The four-year site I inherited at the start of this article needed two hours of cleanup because someone chose a convenient plugin over a durable system. The plugin solved the short-term organizational problem and created a long-term maintenance problem.
The manual system in this guide is less immediately satisfying — there is no visual folder tree in the media library. But it is permanent, requires no plugins, survives every WordPress update, and becomes more valuable as your library grows because every file is named to be found.
Name files descriptively. Convert to WebP before uploading. Tag descriptions with searchable categories. Route large one-off files to the Photo Link Generator. Audit quarterly.
That is the complete system. It takes seconds per image to implement and saves hours over the lifetime of a site.
Connect with me on LinkedIn if you are dealing with an existing chaotic media library and want advice on the most efficient way to approach the cleanup.
Waseem Aijaz — WordPress Developer & SEO Specialist, WP Skillz Bulk Image Resizer | All Dev Tools | About WP Skillz