Elementor Text Image Background Styling Tutorial (With CSS Overlay & Responsive Tips)
Want your Elementor hero sections and headings to look professional — with crisp text over images, soft gradients, and perfect responsiveness? You’re in the right place.
In this tutorial, you’ll learn how to use Elementor’s text, image, and history styling alternatives step by step, plus a few easy CSS snippets that make your designs stand out on each device.
Think of this as a brief, realistic workshop — exactly how an internet dressmaker styles hero sections and headers for real clients.
Why Text-Image Styling Matters in Elementor
Imagine this — a visitor opens your website, however the hero image is blurry, and the textual content is unreadable. Not high-quality, right?
A smooth, readable text-on-picture format with the right overlay, typography, and spacing makes your layout expert and maintains users engaged longer.
This academic will assist you:
- Use key Elementor widgets: Heading, Text Editor, Container/Section, and Image.
- Add heritage pics, gradients, and color overlays for better contrast.
- Create responsive and handy textual content overlays the use of elective CSS.
What You’ll Need
Before you begin, ensure you have:
- Elementor Free — for primary layout and styling.
- Elementor Pro (optionally available) — for historical past films or motion results.
- A awesome, optimized image (WebP or JPEG ≤ 200 KB).
- Basic understanding of a way to use the Elementor editor.
How to Set a Background Image and Text in Elementor (Step-by means of-Step)
- Add a Section or Container
Click the + icon in Elementor and pick out your layout shape. - Set the Background Image
- Select the section.
- Go to Style → Background → Classic (Image).
- Upload your image and set:
- Position: Center Center
- Attachment: Scroll
- Size: Cover
- Repeat: No Repeat
- Add a Background Overlay
Still under Style → Background Overlay, choose a color or gradient.- Set opacity among 0.3 – 0.6 for better clarity.
- Insert Text Widgets
Drag the Heading or Text Editor widget into the section.- Write your heading or subheading.
- Style it via Style → Typography (font, size, weight, spacing).
- Adjust Text Color for Contrast
Use white or near-white text when overlays are dark.
Test contrast using online accessibility tools.
Widget Customization Guide
🖋️ Heading Widget
- Adjust letter spacing and line height for balance.
- Use textual content-shadow for subtle intensity.
- Experiment with responsive typography under pill and mobile tabs.
📝 Text Editor Widget
Perfect for overlaying a quick paragraph or name-to-action (CTA).
- Keep line period below 75 characters.
- Increase line height to at least one.6 – 1.8 for clarity.
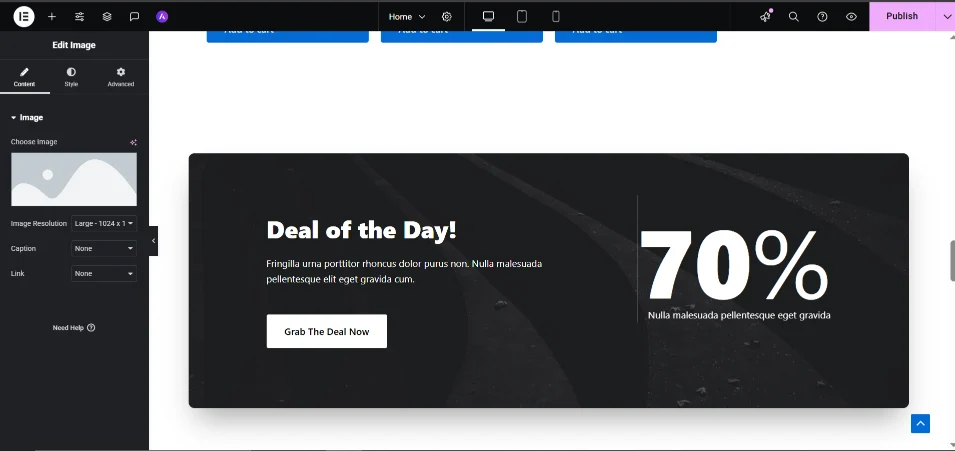
🖼️ Image Widget
If you decide upon an image element (rather than a segment historical past):
- Wrap it in a field.
- Add a obvious overlay layer with textual content above it.
- Use z-index to layer text properly.
CSS Background Image Text Overlay Effects
These small CSS snippets give you more creative control.
(Requires Elementor Pro for Custom CSS, or add globally via your theme.)
✅ 1. Centered Text Overlay with Shadow
selector {
  display: flex;
  align-items: center;
  justify-content: center;
  min-height: 320px;
  color: #fff;
  text-align: center;
}
selector .elementor-heading-title {
  text-shadow: 0 6px 18px rgba(0, 0, 0, 0.45);
}
✅ 2. Gradient Overlay with Blend Mode
selector::before {
  content: "";
  position: absolute;
  inset: 0;
  background: linear-gradient(135deg, rgba(0, 0, 0, 0.45), rgba(0, 0, 0, 0.2));
  mix-blend-mode: multiply;
  z-index: 1;
}
selector > .elementor-widget-wrap {
  position: relative;
  z-index: 2;
}
✅ 3. Responsive Text Size
selector .elementor-heading-title {
  font-size: clamp(24px, 4vw, 56px);
}
Tip: Elementor mechanically replaces selector with the detail’s precise class, so that you don’t need to edit it manually.
Quick Settings Cheat-Sheet
| Element | Where to Set | Key Options |
|---|---|---|
| Section Background | Style → Background | Image • Position • Size (Cover) • No Repeat |
| Overlay | Style → Background Overlay | Color • Opacity • Gradient Angle |
| Heading | Content → Style → Typography | Font Family • Size • Weight • Line Height |
| Contrast | Overlay + Text Color | Follow WCAG contrast ≥ 4.5 : 1 |
| Responsive | Tablet/Mobile tabs | Adjust font size and padding |
Elementor Container Section Styling Tutorial & Advanced CSS Tips
- Combine two overlays — one solid and one gradient — for extra depth.
- Use mix-blend-mode or background-blend-mode for creative effects (test contrast!).
- Apply multiple background images for layered textures.
- For videos, always add a static fallback image for performance.
- Compress and lazy-load images to boost page speed.
Accessibility & Performance Checklist
- ✅ Add descriptive ALT text to each picture.
- ✅ Maintain high text-to-history assessment.
- ✅ Keep hero pictures below two hundred KB whilst feasible.
- ✅ Disable or reduce historical past videos on cell devices.
FAQ — Common Questions
Q: Can I location textual content over an image with out Elementor Pro?
A: Yes. Set a section history picture and upload Heading/Text widgets on top.
Q: How do I hold text readable on mobile?
A: Use responsive typography and slightly increase overlay opacity on smaller screens.
Q: Will adding custom CSS damage Elementor updates?
A: No — Elementor scopes your CSS correctly. Just avoid worldwide overrides unless essential.
Q: How can I overlay text over an Image Widget in preference to a background?
A: Wrap each widgets in a relative box, then use absolute positioning with a better z-index for the textual content.
Elementor Background Overlay and Text Styling – Best Practices
- Always test overlay opacity and textual content colour together.
- Use gradient overlays in place of stable black for a present day experience.
- Limit textual content width so it remains readable on massive screens.
- Use Google Fonts accurately — avoid loading too many font households.
The Bottom Line
A smooth, responsive Elementor textual content photo historical past layout can immediately upgrade your website design. Choose a sturdy image, follow a soft overlay, and fashion your text with smart typography.
These simple changes — plus some CSS outcomes — make your web site look professional even as maintaining it rapid and person-friendly.
👉 Want to discover extra? Check out our Elementor container phase styling academic for format inspiration.