Mastering Elementor Header Design: A Step-by-Step Guide from Scratch Introduction
Introduction
If the idea of making your WordPress website seems overwhelming, you are in the right place. I remember feeling the same way when I started. What should go where? How do you make it responsive? It seemed like a huge challenge.
The good news is that Elementor turns this difficult task into a visual and intuitive process. In this guide, I will show you the exact steps I teach my students, along with some unique insights that most training programs miss. You will learn how to make a heading that is not only visually appealing but also professional, responsive, and perfectly adapted to your brand.
Let’s make this confusion a creative and rewarding skill.
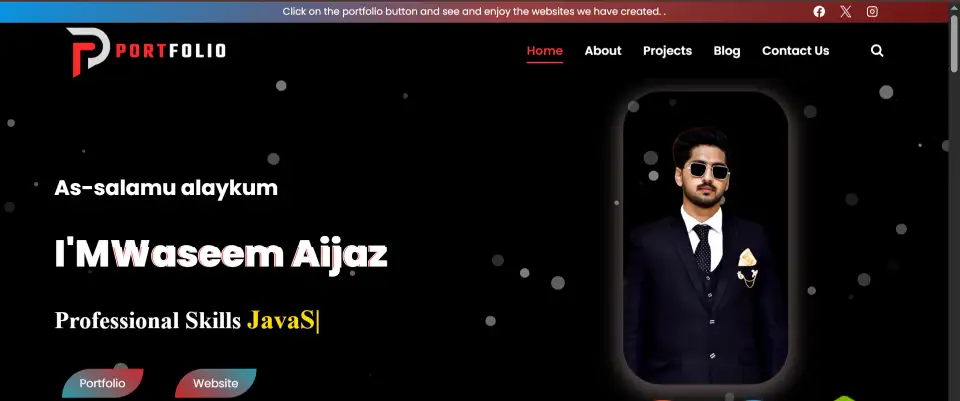
Why Your Header is Non-Negotiable (A Lesson from My Experience)
I once had a client who wanted to cram everything into their header: the logo, menu, social icons, a search bar, a phone number, and more. The result? A 60% bounce rate.
When we simplified the heading to just focus on the logo, the main menu, and a single CTA button, the rejection speed fell to 30% in just two weeks. It is the power of a clean, focused heading.
📚 Teacher’s advice: Think of your heading as the “face” of your site. Just as if we look at a person’s face first during a meeting, visitors look first on your site.
Practical steps: Build your heading in Elementor
Include the primary keyword once
Improvement
Reason
Introduction
Include primary keyword once
Helps SEO in first 100 words
Steps (1-7)
Add sub-keywords naturally in headings
Supports secondary keyword ranking
Sticky Header
Add benefits + real-life example
User engagement & relevance
Mobile Optimization
Include “Responsive Elementor Header” keyword
Google favors mobile-related content
Conclusion
Include CTA with keywords
Encourages engagement and internal linking
Images
Add 5-7 screenshots with alt text
Increases CTR & on-page SEO
Internal Links
Add 2-3 related posts
Boosts SEO & user retention
Step 1: Access the themebuilder (avoid the usual error)
Many beginners make a mistake here. Don’t just go to “pages”. Follow this way to create a website -wide heading:
Click “Create Template” to start with a blank canvas.
💡 My personal tip: Presurered templates are useful, but building from scratch gives you a complete understanding of the design and more control.
Step 2: Build the frame (how to build a house frame)
You are now in Elementor Editor.
Drag a “section” from the left route on the canvas.
Inside that section, you create a two-column structure.
We place the logo in the left column and the menu and button in the right column.
➡️ My unique tip: To adjust the column width, just pull the distinction between them. I often set the logo column to 20% and the menu column to 80% for a balanced look.
Step 3: Add widgets (breathing life to the headline)
Logo: Drag the “Site Logo” widget into the left column. Upload your logo file.
Menu: Drag the “NAV Menu” widget into the right column. Select your pre-made WordPress menu.
CTA button: Place a “button” widget next to the menu. Use convincing text that says “contact us” or “store now.”
➡️ My personal experience: Always make the CTA button a different color from the primary colors of the site, so it stands out and immediately catches attention.
Step 4: Styling and distance (the secret of a professional appearance)
Click on the main body and go to the “Style” tab.
Set a background color.
Under the border, add a thin line (1px) to the bottom for a clean separation.
Go to the “Advanced” tab and set the padding to about 15px for a comfortable distance.
🎨 Design Guru Tips: Understand the difference between padding and margin. Padding is the space inside an element, while margin is the space outside it.
Step 5: The Sticky Header (this feature is a game-changer)
Click on the main body.
Go to the “Advanced” tab > “Motion Effects.”
Set the “Sticky” option to “Top.”
Under “Affects On,” select Desktop & Mobile.
📱 Critical Mobile Advice: Sticky header is more important on mobile because the screen is smaller, and users need easy access to navigation.
Step 6: Mobile Optimization (the most crucial step)
Click the mobile view icon at the bottom of the Elementer Editor.
You will see your horizontal menu has now “broken” into a mobile-friendly format. This is completely normal!
Click on your Nav Menu widget. In the “Style” tab, you will find options to customize the “Dropdown” menu—this is your mobile menu.
Customize the Hamburger Icon and the dropdown’s appearance.
You can hide less important widgets (like a search bar) on mobile by right-clicking on them and selecting “Hide on Mobile.”
➡️ Pro my pro -trick: On mobile, make your logo a little small (between 25px and 30px) to save valuable space.
Congratulations! Your first custom header is now live on your website.
Ordinary Mistakes You Should Avoid
Overcrowding: Putting too many items in the header overwhelms users. Keep it simple.
Ignoring Mobile: Over 60% of web traffic is on mobile. If your header isn’t optimized, you’re failing most of your visitors.
Using Weak CTAs: Phrases like “Click Here” are ineffective. Use action-oriented text like “Get Your Free Guide.”
Poor Color Contrast: If users can’t easily read your menu text against the background, they will leave.
Frequently Asked Questions
Q: Can I create different headers for different pages? A: Yes! This is a powerful feature of Elementor Pro. You cannot create a true, site-wide header. The Pro version’s Theme Builder is essential for this core function.
Q: How do I make the header fully responsive? A: Use Elementor’s built-in responsive editing modes. Always switch to the mobile and tablet views to individually adjust the sizing, spacing, and visibility of each widget.
Q: Can I create different headers for different pages? A: Yes! This is a powerful feature of Elementor Pro. Using “Display Terms”, you can assign unique headers to your homepage, blog posts, special pages, or any other part of your site.
Final Words
Learning to design a header is a trip. You may probably feel a little nervous to make your first, but at that moment you will see how professional your website looks, and you will find it appropriate for all those efforts.
Open Elementor today and start building your first header. If you get stuck, just leave a comment below—I’m here to help!