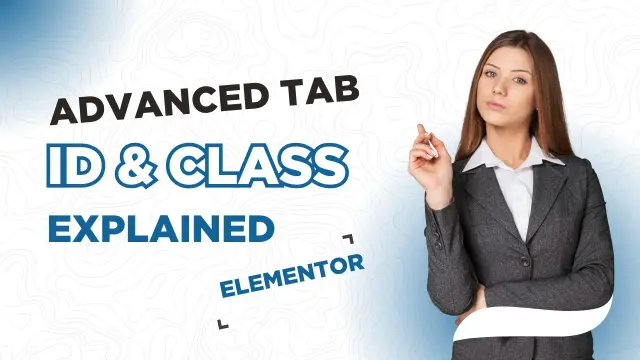
Elementor CSS ID and Class – A Waseem Guide for Beginners
Imagine sitting in front of your computer, establishing Elementor for the first time. You are excited to build a lovely website; however, unexpectedly, a button doesn’t appear the way you imagined. Or perhaps you want 3 sections to have the identical style, but each behaves differently. You begin thinking, “Why isn’t this working? Am I lacking something?”
Relax. This is exactly in which information Elementor CSS ID and Class come into play. Think of it like giving your website factors a name or a tag so that you can control their style exactly. Today, I’m going to stroll you through the whole lot as if I were sitting beside you, displaying it step by step.
Understanding IDs and Classes Like a WP Skillz
Let’s break it down with an analogy. Imagine your school room:
- ID is sort of a scholar’s role variety. Each student has a unique quantity. Similarly, every element can have a simplest one, a specific ID on a page.
- Class is like a set call. Multiple college students can belong to the same organization, similar to how more than one factor can belong to the same Class to have a common style.
Here’s a simple instance: You have three buttons. The first button should have a special color when hovered, but the other two buttons have the same percentage and the same fundamental layout. You supply the first button a unique ID and the others a shared Class. This way, you manage each button precisely the manner you want.
Why IDs and Classes Matter in Elementor
Many beginners make an easy mistake: they try to factor multiple factors using an ID. This normally breaks the layout. Here’s why:
- ID: Unique and particular. Targets the simplest. Perfect for special buttons, banners, or headings.
- Class: Reusable. Use it for multiple elements that should share the same style, like all your buttons or all headings of the same type.
Think of it like cooking: if you want one cupcake to be strawberry flavored, you give it a special topping (ID). If you want ten cupcakes to be chocolate, you use the same chocolate mix for all (Class).
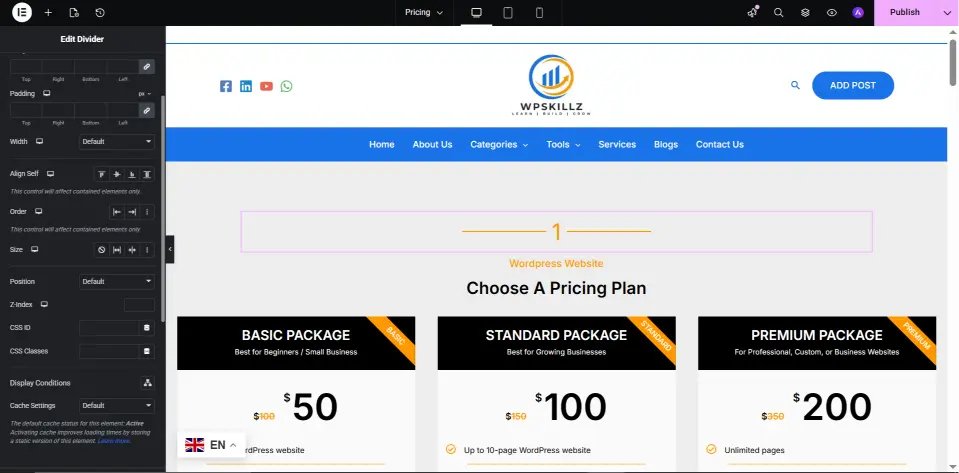
How to Assign IDs and Classes in Elementor
It’s easier than it sounds. Let me show you in a human-friendly way:
- Select the element you want to style.
- Go to the Advanced tab in Elementor.
- For a unique element, write a CSS ID (e.g.,
#main-button). - For shared styling, write a CSS Class (e.g.,
.primary-button). - If you use Elementor Pro, you can add Custom CSS under the same tab.
Instead of thinking of it as code, imagine you are labeling your toys: each one gets a tag so you know what it is, and which ones belong together.
Common Problems and How Humans Solve Them
- Styles Not Showing:
You assign a Class or ID, but nothing changes. Often, the cache is the culprit. Clearing your browser and Elementor cache usually fixes this. - Desktop Looks Fine, Mobile is Broken:
Elementor has responsive controls. Always preview on tablet and mobile. It’s like checking your outfit in different mirrors. - Hover Effects Not Working:
Assign the hover style correctly. IDs are ideal for particular hover effects. Classes are best for a couple of factors with similar hover conduct.
Real-Life Example
Imagine a landing page with three buttons:
- Buy Now (critical)
- Learn More (secondary)
- Contact Us (ordinary)
Goal: All buttons look constant, “Buy Now” modifications shade on hover.
Solution:
- Assign. Primary-button elegance to all three buttons.
- Assign #purchase-now ID to the “Buy Now” button.
Now, the “Buy Now” button has a unique hover impact, and the opposite buttons proportion the same style. No confusion, no broken layout, simply smooth, maintainable design.
Tips from a Human Teacher
- Always give descriptive names. Avoid
.class1or#div2. - IDs are unique; Classes can be reused.
- Combine Classes, IDs, and Elementor’s built-in styling for maximum control.
- Test on all devices. Mobile users make up the majority of visitors.
- Keep it simple: sometimes less is more. Overcomplicating CSS can create headaches.
FAQ – Teacher’s Answers
Q1: Can I use the same ID for multiple elements?
A: No. IDs are unique. Use a Class for multiple elements.
Q2: Why isn’t my custom CSS operating?
A: Most probable cache. Clear the browser and Elementor cache. Regenerate CSS if wanted.
Q3: Can I animate factors with IDs or Classes?
A: Yes. Elementor’s motion consequences and hover patterns can work with each.
Q4: How do I make it cellular-pleasant?
A: Use Elementor’s responsive settings for Classes and IDs.
Q5: ID vs Class – what’s the difference?
A: ID = one element, unique; Class = multiple elements sharing the same style.
Final Words
Mastering Elementor CSS ID and Class is like mastering the name of the game language of your webpage. With IDs, you’ve got precision. With Classes, you’ve got consistency. Combine them wisely, take a look at it on all devices, and you will not only create a lovely web site however also an easy and maintainable one.
Remember, building an internet site is more than coding. It’s about fixing troubles, questioning like a fashion designer, and making your website person-friendly. Practice, experiment, and you’ll quickly be confident dealing with any layout undertaking.