Elementor Breakpoints: Making Your Website Work on Any Device
You recognise that feeling while you open a website to your cellphone and the whole thing seems messy? Buttons are tiny, photographs overlap, and the textual content is all around the vicinity. Frustrating, right? I’ve been there too. That’s exactly why Elementor Breakpoints are so important. They are like little checkpoints that tell your website, “Hey, adjust yourself depending on the device!”
Think of it like teaching. You wouldn’t explain a complicated topic the same way to a child and an adult. Similarly, each tool has distinct display screen sizes, and Elementor helps you adapt your internet site to each one.
What Exactly Are Elementor Breakpoints?
So, what are those breakpoints? Simply put, breakpoints are particular display widths in which your internet site layout modifications. Elementor automatically applies these so your pages look desirable on computer systems, tablets, and phones.
By default, Elementor has three principal breakpoints:
- Desktop: Anything wider than 1025 pixels
- Tablet: Between 768px and 1024px
- Mobile: Anything narrower than 767px
These breakpoints assist ensure that textual content, photographs, and sections regulate automatically. You may even pick to cover a few sections for positive devices, like displaying a big hero photograph on computer however hiding it on cell to preserve matters clean.
Why You Should Care About Breakpoints
Honestly, if your website isn’t responsive, people leave. Simple as that. Mobile users expect a website to just work. No zooming, no scrolling sideways, no missing buttons.
And Google notices too. Websites that aren’t mobile-friendly usually rank lower because user experience matters for SEO. That’s why Elementor breakpoints are not just a convenience—they’re essential.
How to Use Elementor Breakpoints
Now, don’t worry. Using breakpoints in Elementor is easier than it sounds. You don’t even need to know coding for most things.
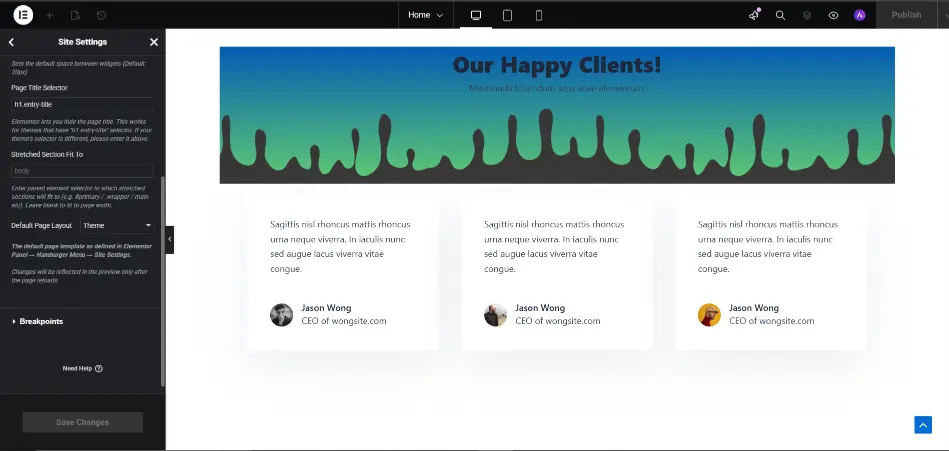
Step 1: Go to Responsive Mode
- Open your page in Elementor editor.
- Look at the bottom left corner for the Responsive Mode icon.
- Click it and switch between desktop, tablet, and mobile. You’ll immediately see how your page looks on different devices.
Step 2: Adjust Sections or Columns
- Click on the section or column you want to tweak.
- Go to Advanced > Responsive.
- Here, you can choose to hide on Desktop, Tablet, or Mobile if needed.

Step 3: Customize Widgets for Devices
- Many widgets have device-specific options.
- You can change font size, padding, margins, and alignment for each device separately.
- Little tweaks here make a huge difference in how polished your site looks.
Honestly, sometimes it’s like magic—just a few clicks and suddenly your messy mobile layout looks perfect.
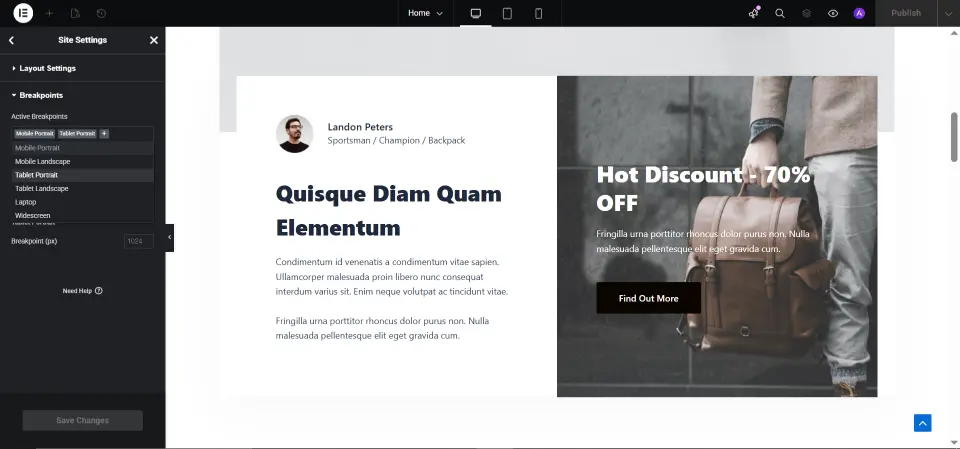
Customizing Breakpoints
The default breakpoints are good for most cases, but sometimes you need more control. Elementor allows custom breakpoints in settings or with CSS.
Using Elementor Settings
- Go to Elementor > Settings > Style.
- Adjust the tablet and cell widths if you need some thing distinct from the default.
Using Custom CSS
If you’re comfortable with CSS, you may do extra advanced tweaks. For instance:
/* Custom tablet layout */
@media (max-width: 900px) {
    .elementor-section {
        padding: 20px;
    }
}

/* Custom mobile layout */
@media (max-width: 600px) {
    .elementor-column {
        width: 100%;
    }
}
This helps if you have multiple columns, photographs, or sections that want special handling on smaller devices.
Tips for Using Breakpoints Like a Pro
Here are a few pointers I always proportion with my students:
- Keep It Simple – Stick to computing device, tablet, and cell. Don’t overcomplicate things with too many custom breakpoints.
- Test on Real Devices – Editor preview is high-quality, but check your design on real phones and drugs.
- Use Section Visibility Wisely – Only conceal elements if it improves user experience.
- Adjust Column Widths – Avoid constant pixel widths; percentages provide flexibility.
- Optimize Fonts – Make textual content readable on smaller monitors. Tiny fonts are a nightmare on cell.
Even these small changes make your web site experience professional and human-pleasant.
Quick Reference: Elementor Breakpoints
| Device | Width (px) | Notes |
|---|---|---|
| Desktop | >1025 | Standard layout for large screens |
| Tablet | 768–1024 | Layout optimized for tablets |
| Mobile | <767 | Layout optimized for smartphones |
FAQs
Q1: Can I change the default breakpoints?
Yes, either via Elementor settings or by way of including custom CSS.
Q2: How do I disguise a section on cellular?
Go to Advanced > Responsive, then toggle Hide on Mobile.
Q3: Does using breakpoints improve SEO?
Absolutely. Responsive sites give better user experience, and Google ranks them higher.
Q4: What is Elementor responsive mode?
It’s a preview device to look how your page seems on desktop, tablet, and cell.
Q5: Are custom CSS breakpoints necessary?
Not always. Only if default breakpoints don’t fit your design needs.
Conclusion
Elementor Breakpoints are a easy but powerful tool to make your internet site appearance amazing on every tool. Just like a teacher adjusts training for college students, breakpoints will let you adjust your design for each tool.
Spend a bit time knowledge them, take a look at your pages on more than one devices, and tweak sections and columns. Soon, your website may be responsive, easy, and user-friendly, and traffic won’t must struggle to navigate your content material.
Start exploring breakpoints today—it’s a small step that makes a huge distinction in consumer enjoy and SEO.