
Responsive Settings Elementor: Make Your Website Look Perfect on Every Device
Have you ever spent hours designing a lovely web page in Elementor, handiest to check it on your telephone and realise it appears… messy? I’ve been there. Desktop designs look faultless, but the moment you open them on a cell, buttons are tiny, text overflows, and pics shift unpredictably. Frustrating, right?
This is where responsive settings in Elementor save the day. When used successfully, your website will now not simply appear true on desktops—it will be readable, usable, and visually appealing on tablets and mobiles too. Let’s dive into exactly how to master those settings, with practical tips and a few tricks that most designers don’t percentage.
What Responsive Design Means in Elementor
At its center, responsive design guarantees that your internet site adapts automatically to different screen sizes. Elementor makes this clean with responsive controls; however, you need to know what to tweak.
Think of it this way: your desktop format is like a skyscraper—each element has its location. On a cellular phone, that skyscraper needs to show into a compact condominium without dropping fashion or capability.
Some key factors to apprehend:
- Breakpoints: The screen widths in which Elementor switches layouts automatically.
- Responsive CSS: Custom styling for particular gadgets.
- Visibility Settings: Show or cover factors relying on the tool.
How to Access Elementor Responsive Mode
Elementor’s Responsive Mode is a lifesaver. Here’s how I use it every day:
- Open your web page in Elementor.
- Click the Responsive Mode icon at the lowest left.
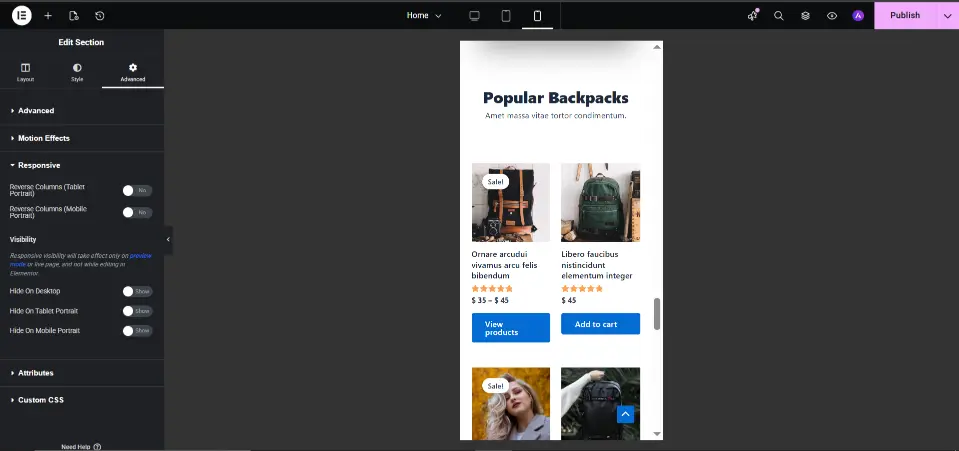
- Toggle between Desktop, Tablet, and Mobile views.
Pro Tip: Always check all three views while editing. Sometimes, something that looks perfect on desktop completely breaks on tablet or mobile.
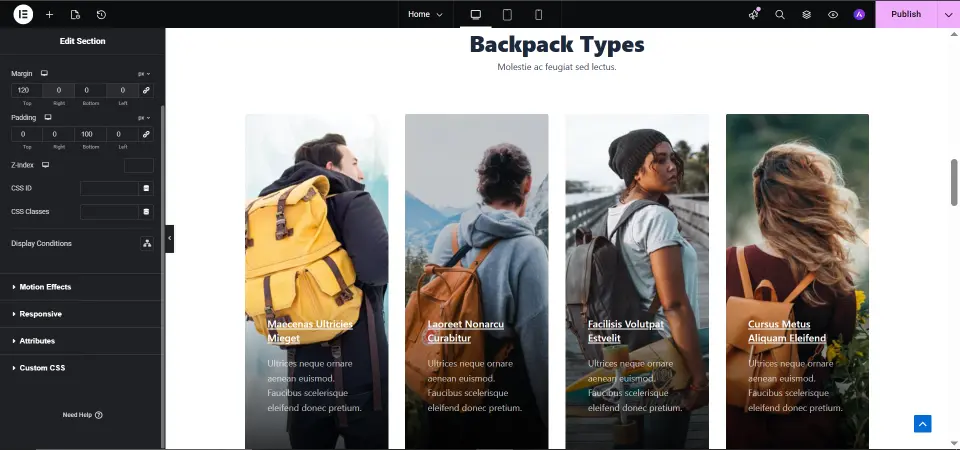
Adjusting Columns and Layouts
Columns are tricky. On desktop, you might have three columns, perfectly aligned. On mobile, they can look squished or overlapping.
Here’s what I do:
- Go to the section → Advanced → Responsive
- Adjust column widths for tablet and mobile
- Switch to flex layout if needed for better alignment
/* Make all columns full width on mobile */
@media (max-width: 767px) {
  .elementor-column {
    width: 100% !important;
  }
}
This little trick saved me hours of frustration when a client complained that their mobile page looked “cluttered.”
Responsive Typography Tips
Text size is a huge part of readability. A font size that works on desktop might be unreadable on mobile.
- Desktop: 18px–20px
- Tablet: 16px–18px
- Mobile: 14px–16px
I like to adjust these directly in Elementor using responsive typography settings. Trust me, spending 5 minutes here can dramatically improve the user experience.
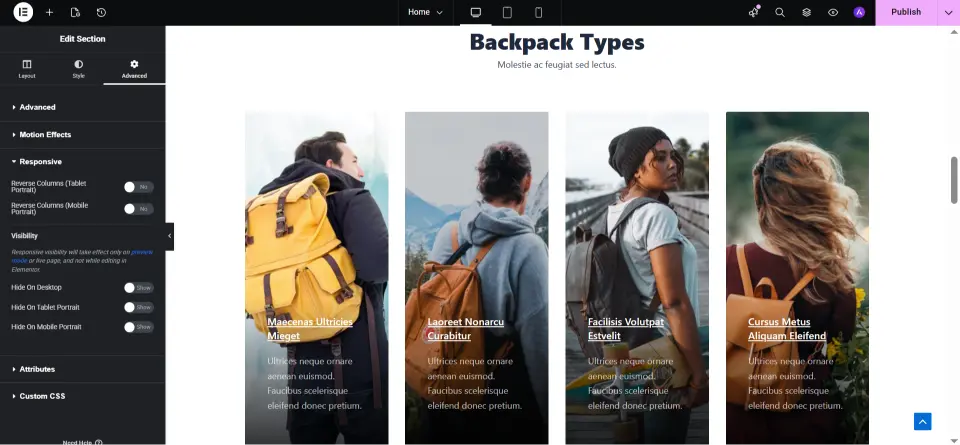
Show/Hide Elements Strategically
Sometimes, less is more. Not every element needs to appear on every device. For example:
- Hide large hero images on mobile for faster loading
- Keep essential call-to-action buttons visible on all devices
- Use Advanced → Responsive → Visibility to toggle elements
Insider Tip: I often hide detailed sidebars on mobile. Users just scroll past them anyway, and it keeps the design clean.
Padding, Margins, and Mobile Spacing
I can’t stress this enough: mobile layouts fail mostly because of padding and margin issues.
- Reduce padding on mobile to prevent content overflow
- Avoid fixed heights; let sections expand naturally
- Check column spacing to prevent overlap
Semantic keywords like responsive column width and elementor margin padding for mobile should naturally appear here without forced repetition.
Common Mistakes Designers Make
- Ignoring tablet view: Many skip tablet optimization. Don’t. Tablets are used by millions.
- Excessive desktop padding on cell: Leads to messy layouts.
- Tiny buttons: Make sure clickable factors are as a minimum 40px tall on mobile.
- Hiding an excessive amount of: Only hide elements that truely harm usability.
Personal Story: I as soon as designed a patron’s page and hid a testimonial section on cell. Users kept asking in which the evaluations had been. Lesson discovered: balance visibility and ease.
Quick Reference Table: Responsive Settings
| Device | Column Width | Font Size | Padding/Margin Tips | Visibility |
|---|---|---|---|---|
| Desktop | 100% | 18–20px | Standard | Show all elements |
| Tablet | 80–90% | 16–18px | Adjust for readability | Hide unnecessary elements |
| Mobile | 100% | 14–16px | Reduce padding | Hide non-essential elements |
Advanced Tricks for Power Users
- Custom CSS for mobile:
/* Hide element on mobile */
@media (max-width: 767px) {
  .elementor-widget-slider {
    display: none !important;
  }
}

/* Adjust margins for tablet */
@media (min-width: 768px) and (max-width: 1024px) {
  .elementor-section {
    margin: 20px !important;
  }
}
- Optimize images for faster cellular overall performance
- Use browser dev gear to emulate gadgets
- Adopt a mobile-first mind-set: design for small monitors first
Why Responsive Settings Matter
Google prioritizes mobile-pleasant websites. AdSense rewards web sites that offer brilliant consumer enjoy. Using responsive settings Elementor efficaciously:
- Boosts SEO
- Reduces bounce rates
- Enhances professionalism and usability
The Bottom Line
Mastering responsive settings in Elementor isn’t just about resizing elements—it’s about thinking like your user. Test on real devices, tweak carefully, and always prioritize readability and engagement.
Ask yourself: “Does my page feel natural and easy to use on every device?” If the answer is yes, congratulations—you’ve nailed it.