How You Can Master Advanced Elementor Tabs Like a Real Pro
Have you ever built a website and thought, “I wish I could organize my content neatly without making the page look messy?”
That’s exactly where Advanced Elementor Tabs come in. These tabs let you show a lot of information in a small, elegant space—without overwhelming your visitors. But here’s the thing: most designers only scratch the surface. They use the default style, add some text, and move on.
Let’s change that. In this article, I’ll walk you through how you can actually master Advanced Elementor Tabs, add creativity, and make your design stand out—without touching heavy code.
What Exactly Are Advanced Elementor Tabs?
Think of tabs like folders in your computer. Each folder has associated documents, however you don’t open all of them right now. Elementor Tabs work the same way—they let you organize content in a clean, clickable layout.
The Advanced Elementor Tabs feature lets you go beyond the basics. You can:
- Add icons, images, or even animations.
- Use custom CSS to layout tabs that match your brand.
- Make them responsive, so that they appearance best on cell too.
In brief, those tabs aren’t simply design tools—they’re a manner to enhance consumer enjoy. When your visitors can find information quickly, they stay longer, and that helps your SEO naturally.
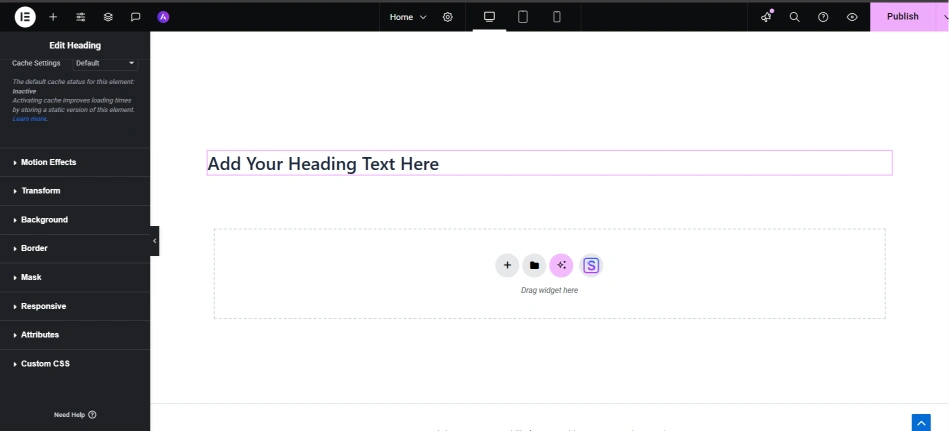
How to Create Custom Tabs in Elementor (Without Overcomplicating Things)
Most people drag and drop the widget and stop there. But you can make custom tabs in Elementor that feel interactive and smooth.
Here’s the way you do it smartly:
- Start with the Tabs Widget – Add the “Tabs” widget on your segment.
- Design Each Tab Separately – Instead of copy-pasting the identical content material, make each tab unique. For example:
- “Overview” can have text and icons.
- “Gallery” can show images the usage of an internal phase.
- “FAQ” can use toggles or accordions.
- Use Custom CSS for Styling – Small tweaks make a huge difference.
For instance:.elementor-tab-title.elementor-active { background-color: #0066ff; color: white; border-radius: 8px; transition: all 0.3s ease; }This simple code gives your active tab a professional highlight without slowing down the page. - Add Hover Effects – A soft color transition or underline can guide users’ attention and make the design look polished.
Styling That Feels Human – Not Robotic
Here’s something most tutorials miss: your tabs should feel natural.
When someone hovers, clicks, or scrolls, they should feel a response. That emotional connection—no matter how small—is what makes great design.
Try this:
- Keep font sizes readable (around 16–18px).
- Add spacing between tabs (users hate cramped layouts).
- Choose soft colors that match your website mood—don’t make your tabs look like buttons from the 2000s.
And yes, always check your mobile view. If the tabs stack awkwardly, switch to vertical tabs Elementor style—it’s easier to navigate with thumbs on mobile.
Real Pro Tips Most Designers Don’t Know
Here are a few tricks I’ve learned over the years that even experienced Elementor users miss:
- Use Dynamic Tabs – Instead of typing text manually, connect tabs to dynamic content like blog posts or ACF fields. It updates automatically when you edit your site.
- Optimize for Performance – Tabs can load hidden content that slows your site. To restore this, use lazy-load for photos and keep scripts minimal.
- Create Vertical Tabs for Mobile Users – On smaller displays, vertical tabs are less difficult to read and scroll through.
- Use Icons Wisely – Tabs with small icons help users understand the segment quicker—like a talk icon for FAQs or a gallery icon for photographs.
- Add Animated Effects—however Lightly – Animated tabs in Elementor appearance exquisite, however overdoing it ruins UX. A simple fade-in or slide is enough.
- Make Tabs Reusable – Save your tab design as a Global Widget or template so you can reuse it throughout multiple pages. It saves time and keeps branding consistent.consistent.
Common Mistakes to Avoid
Even professionals slip here. Avoid those, and your layout will instantly sense purifier:
- Adding too many tabs (five+ becomes puzzling).
- Ignoring lively/inactive color differences.
- Forgetting to test how it appears on mobile.
- Using heavy images or videos inside every tab.
- Not previewing before publishing.
Fixing those small issues could make your tabs load faster and appearance a long way greater expert.
Making Tabs search engine optimization & AdSense Friendly
You would possibly marvel, “Tabs are layout factors—how do they affect SEO or AdSense?”
Good question. Tabs assist your web page’s consumer enjoy, which Google values deeply.
Here’s what subjects:
- Keep your tab titles descriptive (“Features,” “Pricing,” “FAQ”) as opposed to “Tab 1” or “Tab 2.”
- Make certain essential content material interior tabs is seen to Google crawlers (don’t disguise key text with display:none in CSS).
- Add alt text to pictures interior tabs the use of relevant keywords like custom tabs elementor or responsive tab layout.
- Avoid clickbait titles—Google dislikes exaggerated wording.
When your content feels real and helpful, AdSense also favors it. In simple words, focus on helping your visitor, and ranking + monetization will follow.
The Bottom Line
Advanced Elementor Tabs aren’t just a feature—they’re a way to organize, beautify, and speed up your content delivery. When used right, they turn ordinary pages into smooth, professional layouts that people actually enjoy using.
So, next time you design with Elementor, don’t simply drop a tab and neglect it. Experiment with hover consequences, take a look at cell layouts, and preserve your layout light and emotional.
Because don’t forget — properly layout isn’t just about looks; it’s approximately the way it feels to the man or woman using it.
💡 You can also watch our motion pictures on our YouTube channel or comment on our Facebook web page for extra help.