
How You Can Create a Custom Testimonial Widget in Elementor (That Builds Real Trust)
Have you ever visited a website and instantly thought, “Yes, I can trust this business”?
That feeling doesn’t come from animations or vivid colorations — it comes from real purchaser tales.
Testimonials are the emotional heartbeat of your website.
Think of your testimonials as storytelling — every one a small piece of social evidence that speaks louder than your personal advertising phrases.
If you’re building with Elementor, this guide will show you how to create a custom testimonial widget in Elementor that looks professional, works smoothly, and builds trust — naturally.
Why a Custom Testimonial Widget Matters
Elementor gives you a basic testimonial widget — but basic doesn’t make brands memorable.
A custom testimonial widget lets you go beyond limits:
you can design layouts, add motion, and inject emotion that reflects your brand’s identity.
Visitors don’t want robotic praise like “Amazing service!” — they want real voices from real clients.
Think of your testimonials as storytelling — each one a small piece of social proof that speaks louder than your own marketing words.
Step 1: Plan the Structure Before You Design
Before diving into layout, ask yourself:
- What feelings do you need humans to sense when they study your testimonials?
- Should they appear in a grid or as a smooth slider?
- Do you want to include photos, star ratings, or short videos?
A proper structure includes:
- Client photo
- Name & position
- One emotional line (2–three sentences max)
- Optional big name score or brand
💡 Tip: Use authentic Image — even easy telephone Image add greater believe than polished stock photographs.
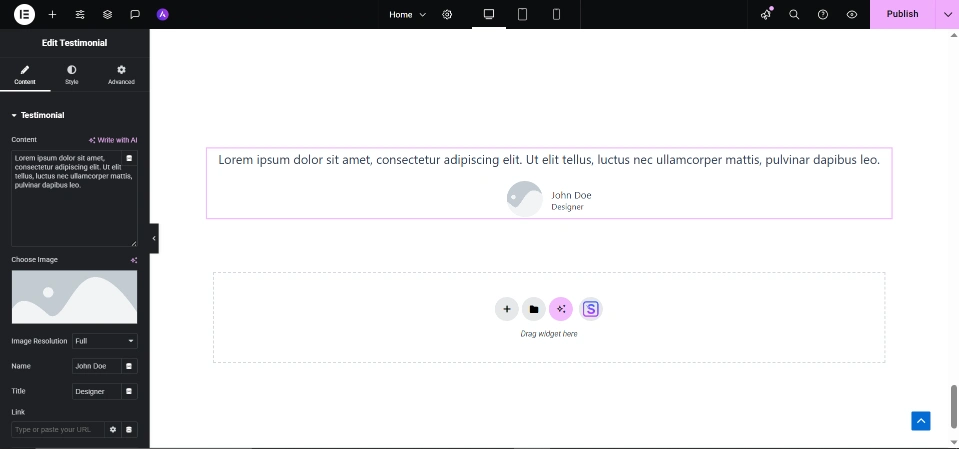
Step 2: Designing Your Testimonial in Elementor
Now open your Elementor editor:
- Add a new section → 3 columns.
- Add widgets in every column:
- Image (customer photo)
- Heading (client name)
- Text (testimonial)
- Keep history mild and typography clean.
💬 Pro Insight: Emotion sells. Each design element should feel calm, trustworthy, and human.
Step 3: Add Custom HTML & CSS (Professional Design)
To elevate the look beyond Elementor defaults, use this code:
🔹 HTML
<div class="testimonial-card">
  <img src="client1.jpg" alt="Client Photo" class="client-img">
  <h3 class="client-name">Ayesha Khan</h3>
  <p class="client-role">Entrepreneur</p>
  <p class="client-review">Working with this team completely transformed my website. I felt heard and supported every step of the way.</p>
</div>
🔹 CSS
.testimonial-card {
  background: #ffffff;
  border-radius: 16px;
  padding: 24px;
  box-shadow: 0 6px 18px rgba(0,0,0,0.08);
  text-align: center;
  transition: all 0.3s ease-in-out;
}
.testimonial-card:hover {
  transform: translateY(-8px);
}
.client-img {
  width: 80px;
  height: 80px;
  border-radius: 50%;
  margin-bottom: 10px;
}
.client-name {
  font-weight: 600;
  color: #111;
}
.client-role {
  color: #777;
  font-size: 14px;
  margin-bottom: 8px;
}
.client-review {
  font-style: italic;
  color: #444;
}
Step 4: Add Slider Functionality (Optional)
To create a testimonial slider, you may use Elementor’s “Slides” widget or a light-weight JavaScript snippet:
let index = 0;
const slides = document.querySelectorAll('.testimonial-card');
setInterval(() => {
  slides[index].classList.remove('active');
  index = (index + 1) % slides.length;
  slides[index].classList.add('active');
}, 4000);
💡 Smooth transitions create emotional drift — your testimonials have to “breathe,” now not leap.
Step 5: Make It Responsive (Mobile Optimization)
Google loves cellular-first design, and so do customers.
Here’s what to do:
- Set column width to a hundred% on cell view.
- Reduce photo size and line spacing.
- Test across devices before publishing.
A testimonial that looks perfect on every screen builds unconscious trust — the type you could’t fake.
Step 6: Shopify Integration (Bonus Tip)
Did you understand you may additionally use the identical Elementor testimonial layout in Shopify?
- In Shopify → Theme Customization → Add Custom HTML Section.
- Paste your HTML and CSS.
- Save → Preview.
You now have a responsive testimonials section in your Shopify store without the need for a plugin.
Comparison Table: Default vs. Custom Testimonials Widget
| Feature | Default Elementor Widget | Custom Testimonial Widget |
|---|---|---|
| Design Flexibility | Limited templates | Full control via HTML & CSS |
| Animation Options | Basic fade/slide | Custom JS animations |
| Mobile Optimization | Average | Fully responsive |
| Personalization | Generic style | Brand-specific look |
| SEO Impact | Minimal | Strong (optimized alt tags & schema) |
| User Trust Level | Medium | High – authentic visual design |
As you could see, the custom model doesn’t simply appearance higher — it plays better for search engine marketing and believe.
Step 7: Search Engine Marketing + Google AdSense Optimization Checklist
✅ Place your foremost key-word “custom testimonial widget elementor” in:
- Title
- First a hundred phrases
- One subheading
- Image alt text
- Conclusion
✅ Include related phrases like testimonial slider Elementor and patron testimonials layout naturally.
✅Compress all images for faster load time.
✅ Avoid fake testimonials (AdSense disapproves deceptive content).
✅ Add schema markup (non-compulsory but boosts CTR).
Conclusion: Build Emotion, Not Just Widgets
A custom testimonial widget in Elementor is greater than decoration — it’s virtual storytelling.
It indicates emotion, honesty, and proof. Every overview turns into a heartbeat of your logo.
When carried out proper, it doesn’t simply fill area — it builds belief.
So move past templates. Craft your very own. Let your happy customers communicate, and permit their words build your recognition — one heartfelt story at a time.
Frequently Asked Questions (FAQs)
Q1. Can I create a testimonial slider with out coding?
Yes. Elementor Pro includes a built-in “Testimonial Carousel” widget, but custom coding offers you more flexibility and higher manipulate over animations and design.
Q2. Does a testimonial section affect search engine optimization?
Absolutely. Real testimonials growth on-web page time, lessen jump charge, and enhance consumer agree with — all wonderful signals for Google ranking.
Q3. What’s the right quantity of testimonials in step with page?
Between 3 to 6. Too few seems empty, too many experience repetitive. Focus on great, not amount.
Q4. Can I use video testimonials in Elementor?
Yes. Add the “Video Widget” inside your testimonial layout for a stronger emotional connection.
Q5. Are fake testimonials risky for AdSense approval?
Yes — Google can detect AI-generated or fake testimonials. Always use real reviews from real clients.